

Are you struggling with a leak in your above ground pool? You don’t have to worry about it anymore!
In this blog, you’ll learn the complete guide to repairing a leak in your above ground pool quickly and easily. It’s time to take control of your pool and keep it looking its best.
Pools are a great way to relax and cool off during hot summer days. However, they can often require maintenance if a leak pop up. Repairing an above ground pool can seem like an intimidating task, but it doesn’t have to be.

In this complete guide, we will go over all of the necessary steps needed to successfully repair a leak in your above ground pool so that you can get back to enjoying it once again. We will start with the basics of finding the source of the leak and work our way through all of the repairs needed, including patching any cracks or holes in your pool liner, taping any seams, and even replacing any broken filtration components.
By following these instructions carefully and taking all safety precautions while conducting your repair job, you should be able to complete this task successfully.
Briefly discuss the importance of maintaining an above-ground pool
Maintaining an above-ground pool is important for several reasons. First, it adds to the overall operational efficiency of the pool and saves money in the long run by preventing damage from occurring. Second, it preserves the quality of your pool and ensures years of safe and enjoyable swimming. Lastly, proper maintenance helps keep your family healthy by preventing waterborne illnesses that can occur if your pool is not well maintained.
It is important to inspect your above-ground pool regularly to prevent any potential issues such as leaks, which can require costly repairs if not handled in a timely fashion. Regular maintenance includes checking for any visible signs of wear or damage to the liner. Additionally, checking to make sure all parts are functioning properly and that water levels are held at optimal levels as outlined in your owner’s manual is essential for keeping an above-ground pool functioning at its best level.
Taking proactive steps such as these will help you quickly detect a leak before if becomes a major issue. If a leak does occur however, it is advisable that you contact a professional who specializes in repairing such issues with vast experience doing so to ensure it is done correctly and safely.
Explain the consequences of leaving a leak unaddressed
If you ignore a leak in your above ground pool, it can have serious and costly consequences. A small leak that is left unaddressed can eventually lead to a larger one, and the leaking of the water can cause there to be a decrease in chlorine levels which will compromise water quality. Approximately one quarter of an inch of water loss per day can cause surrounding soil to settle and damage the pool’s walls. Additionally, if enough water drains from your pool, then the stability of the entire swimming pool could be compromised, resulting in safety issues as well as physical damage to your property. In some cases depending on where you live, municipal ordinances require timely notification and repairs for any leaking pools.
A neglected swimming pool is at risk of being condemned by local authorities due to health risks or environmental damage it may cause. If left unaddressed even temporarily, a leaking above ground pool may incur more expensive repairs than if it were fixed early on – and with summer quickly approaching now is the perfect time to make sure tharat your pool is in proper working order before you need it!
Preview the steps involved in repairing a leak in an above-ground pool
When it comes to repairing a leak in your above-ground pool, it is important to have the right knowledge and tools at your disposal. To help you prepare, here is a preview of the steps involved in this process.
First, it is essential to determine where the leak is coming from with a visual inspection of the area around your pool’s walls and flooring. Check for signs of dampness or water seepage, as well as any cracks in the surface of your above-ground pool’s walls or flooring. During this part of the repair process, you may need to drain some or all of the water from your pool temporarily and use special tools such as a moisture meter or infrared camera to help assess where water may be escaping from.
Once you have identified where the leak is originating from, then you can begin working on repair preparations such as clearing away dirt that surrounds the leakage area and removing any moss build up at that specific location. Once this phase has been completed, it will be time for sealing and patching up any cracks or holes you find in order for them to become fully sealed again. This can include filling gaps between tiles with silicone caulk, filling small punctures with epoxy putty or applying an appropriate fiberglass patch kit according to instructions provided by its manufacturer.
Finally, after sealing any leaks with sufficiently strong material(s), it will be time to test if they are functioning properly by using pressurized air testing devices and checking for further evidence of leaks after refilling your above ground pool with fresh water. It may also be necessary at this stage to balance out chemical levels within your pools water again according to safety recommendations place forth by governmental health organizations such as The Centers for Disease Control and Prevention (CDC).
By following these steps outlined here on how to repair a leak in an above-ground pool, you can save yourself time and headaches during what can otherwise become a somewhat challenging task if not done properly.
Identifying the Leak
Identifying the leak in your above ground pool can often be challenging. First, you need to know the specific location of your pool so that you can accurately determine where the leak is coming from. If possible, check all areas of the liner and any seams, folds or connectors. If the issue is not immediately clear, it could be beneficial to take pictures of the area and mark them with gridlines. You may want to turn off several water supply valves in order to narrow down which particular area needs repairing.
If there are other components involved in your pool such as ladders or pumps, inspect them carefully for any signs of wear or damage. Look for worn-out seals or other visible defects which could potentially cause a leak. Also check around structures such as decks which may have been built around the edge of your pool – corrosion may have occurred over time due to moisture build-up and excessive exposure to high temperatures and humid conditions.
Additionally, if you have an underground sprinkler system connected to your water supply line or a nearby hose bibb, confirm that these connections are tightly sealed and up-to-date on repairs as well; even small disruptions can lead to major problems if left unchecked over time.
Discuss the signs of a leak in an above-ground pool
If your above-ground pool is leaking, it can be hard to locate the source and determine the best course of action. Before you start any repairs, you should identify the signs of a leak in an above-ground pool. The most common symptoms are:
- Decreasing water levels – When water is leaking out of the pool, it will cause the water levels to slowly decrease day after day. Keep an eye on your water levels so that you can identify if they are decreasing more quickly than normal evaporation or backwashing.
- Soft spots on vinyl liners – If there is a leak in your pool, then this often leads to air pockets forming around it. These air pockets will cause soft spots in your vinyl liner that can easily be identified by pressing on it with your finger or foot.
- Pressure waves around skimmer and return lines – If you notice pressure waves (mini-whirlpools) near the skimmer line when the pump is turned off, this may indicate a leak somewhere near that area.
- Buildup of calcium or salt around suction fittings – Excess cracks and mineral buildup around suction fittings usually indicate a seal that has worn away over time or was damaged during installation and needs to be replaced.
Knowing what signs to look for when diagnosing a leaking pool can help you save time, energy, and money in the long run when repairing them.
Explain how to locate the source of the leak
To identify the source of a leak in an above ground pool, you will need to inspect the walls and floor of your pool. Start by inspecting the outside edge of the wall where it meets the ground. Check for cracks, splits, or gaps between the wall and floor. The top edge of your pool should have rubber seals or gaskets between each section to ensure a tight fit. Inspect these seals for any signs of wear or damage.
Next, take a look at your pool’s skimmer box and filter connections to make sure that there are no leaks occurring from these areas. Check for any cracks in the skimmer box itself as well as around hoses that connect to pumps and filters. If there are any loose connections, tighten them accordingly with an adjustable wrench.
If the problem still persists, check for any hairline cracks in above ground pool liners by running your hand along them checking for evidence of water seeping out through small fractures or tears. Once you have identified any issues around liners or hose connections, it is important to patch them up quickly before severe leaks occur that can cause further damage to both your pool walls and equipment involved in filtration systems.
Emphasize the importance of identifying the leak before proceeding to repair it
Before proceeding to repair a leak in your above ground pool, it is essential to identify and isolate the source. Even if the leak is right in front of you, assessing the current situation can help you plan and prepare for the repair process and save time and money overall. Proper measures should be taken before diving into the repair process. The following steps will help ensure that you diagnose and repair your pool leak accurately:
- Get to know your pool – Familiarize yourself with the different types of pipes, fittings, and other components that make up your above-ground pool system to ensure that you’re replacing or fixing them correctly.
- Check for visual signs of leaks – Make sure to take a good look around for any obvious signs of leaks, such as water running down the inside walls of your pool or puddles forming on the surface during heavy rain or high humidity conditions, etc.
- Test the water quality – Testing pool water regularly allows you to stay on top of pH balance maintenance as well as detect minute changes in pH levels that might signal a small slow leaking problem in your pool system.
- Investigate further – If a leak is suspected despite regular maintenance, use a dye test kit available at most local stores so that you can pinpoint where exactly water may be leaking from within your above ground swimming pool system more precisely before beginning repairs or replacement projects surrounding it.
III. Preparing the Pool for Repair
Before starting a swimming pool repair, it is important to prepare the pool for the repair. The aim should always be to minimize any damage caused during the repair process.
At this stage, you should consider:
:max_bytes(150000):strip_icc()/GettyImages-1391942084-0b11dd5cd941438eaa8f93a8504fd8a4.jpg)
- Emptying the pool – To partially or completely empty the pool can help you and allow for better access for repair along with ensuring that any chemical balance is not unduly disturbed.
- Preparing the area – To clear away any debris or obstacles that may obstruct your way as you work on repairing your above ground pool.
- Relocating/removing items – To move furniture, toys or any other items that may be in harm’s way during a repair.
- Replacing pool accessories – If necessary, it may also be advisable to replace any filters and pumps which may have been affected by the leak before starting with a repair on your above ground pool.
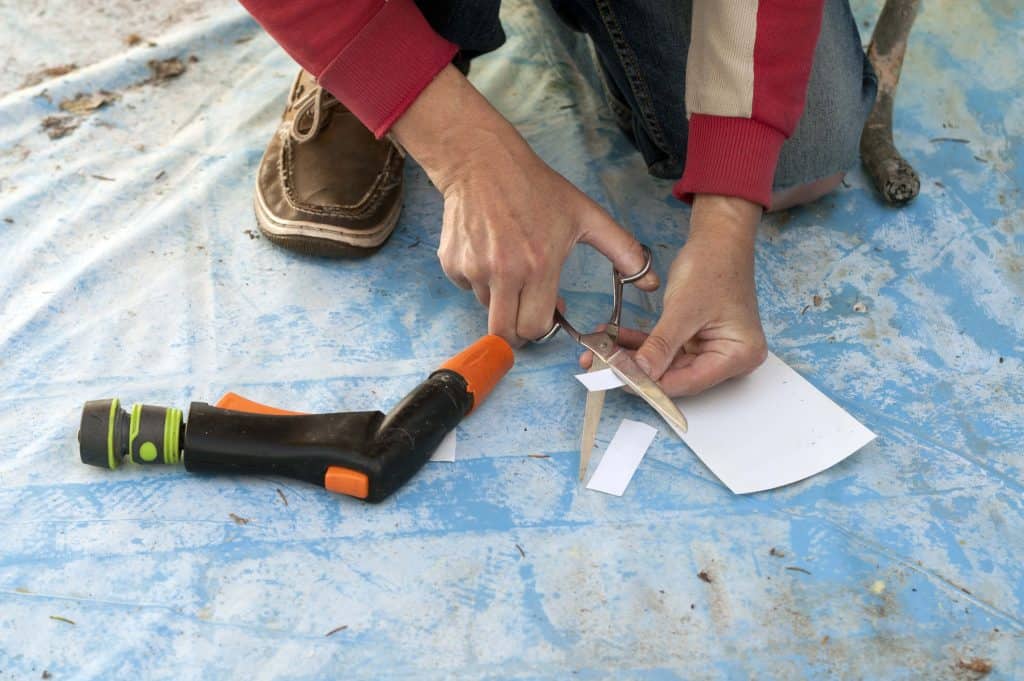
Discuss the tools and materials required to repair the leak
Before you can begin the repair process, you’ll need to gather the right tools and materials. If the damage is extensive and there are multiple leaks to repair, you will likely need to drain your above ground pool prior to beginning repairs.
The following items are needed for a successful leak repair:
- Toolbox including adjustable wrench, hammer, Phillips head screwdriver and other assorted tools;
- Putty knife;
- Measuring tape;
- Epoxy putty;
- Rubber patch kits or vinyl patching kits;
- Duct tape;
- Grinding material such as metal filings or sandpaper;
- two-part epoxy adhesive compound.
Once you have all of your tools ready, it’s time to assess the damage and start repairing your above ground pool.
Explain how to drain the pool to the appropriate level
Draining the pool to the appropriate level is essential when trying to repair an above ground pool leak. It will also make any necessary repairs, such as a patch or sealant, easier to apply. To drain the pool, you should first switch off the pump and skimmer and shut off the valves. With most pools, you can reduce the water level by about 6 inches by opening both the drain cap and run hose valve at one of your pool’s bottom slits.
Allow for all the water to properly drain from your above ground pool. Keeping in mind that it is important not to entirely drain your pool; you need some water in order to patch or sealant repairs appropriately without collapsing a wall of the frame structure due to pressure issues. Check all of your ground slits and mark how much water is removed so you can monitor any excessive drainage if needed during repairs.
Once all water has drained, turn off both hoses valves before replacing them with plugs or caps if necessary and re-opening any valves that had been closed previously. You can now fill up your pool again for further repairs or replastering – be sure not to overfill it beyond its recommended level though!
Conclusion
In conclusion, repairing a leak in an above ground pool can be a tedious task that requires patience and persistent effort. You should start by identifying the type of crack or puncture your pool has and where it is located. Once you have identified the issue, you can move on to the appropriate method of repair by either fixing it with epoxy putty, vinyl patching products, or patch kits.
Make sure that before performing any repair work on your above ground pool, you clean the affected area thoroughly before attempting any repairs! Remember to also check for air bubbles or water seepage from time to time around the repaired area as well as testing any repairs with a garden hose to ensure that they are effective for long-term use.
Ultimately, repairing a leak in an above ground pool does not have to be an intimidating or expensive process; as long as you take the necessary steps and use appropriate products for your repairs, then it should be an easy and cost-efficient repair task!
FAQ’s
How to fix a leak in an above ground pool without draining it?
One option is to use a pool leak sealant product specifically designed for above ground pools. Another option is to use a vinyl pool patch kit.
What to do if above ground pool is leaking?
First, identify the source of the leak. Then, depending on the severity of the leak, either use a pool leak sealant or repair the leak with a vinyl patch.
What is the most common above ground pool leak?
The most common above ground pool leak is a leak in the liner.
What is the best way to find a leak in an above ground pool liner?
One way is to use a dye test kit to identify the location of the leak. Another way is to inspect the liner for any visible tears or holes.
What can I use to seal a leaking pool?
There are several pool leak sealant products available, such as epoxy putty or sealant patches. It is important to use a product that is specifically designed for your type of pool.
Where does water go when a pool leaks?
Water can leak out of the pool and into the ground or surrounding area. In some cases, water can also leak into the pool equipment, causing damage.
What is the easiest way to find a leak in a pool?
One easy way is to use a dye test kit to identify the location of the leak. Another way is to inspect the pool for any visible cracks or tears.
What are common pool leaks?
Common pool leaks include leaks in the plumbing, pump, filter, and pool liner.
Can you repair an above ground pool with water in it?
Yes, you can repair an above ground pool with water in it. However, it may be more difficult to identify the location of the leak and make the repair.
Can a hole in an above ground pool be repaired?
Yes, a hole in an above ground pool can be repaired using a vinyl pool patch kit or other pool leak sealant product.
See Also-
- Best small above ground pool 2023
- Best solar cover for above ground pool 2023
- Best vacuum for intex above ground pool 2023
- Best rectangular above ground pool 2023
- Best sand filter for above ground pool 2023

William Bruce is the CEO and author of one of the most comprehensive skyhighpools.com websites on the internet. With over 20 years of experience in the pool industry, William has become a trusted source of information for pool owners and enthusiasts around the world. His commitment to providing unbiased and comprehensive information has made his website a go-to resource for those seeking reliable information about pool equipment.